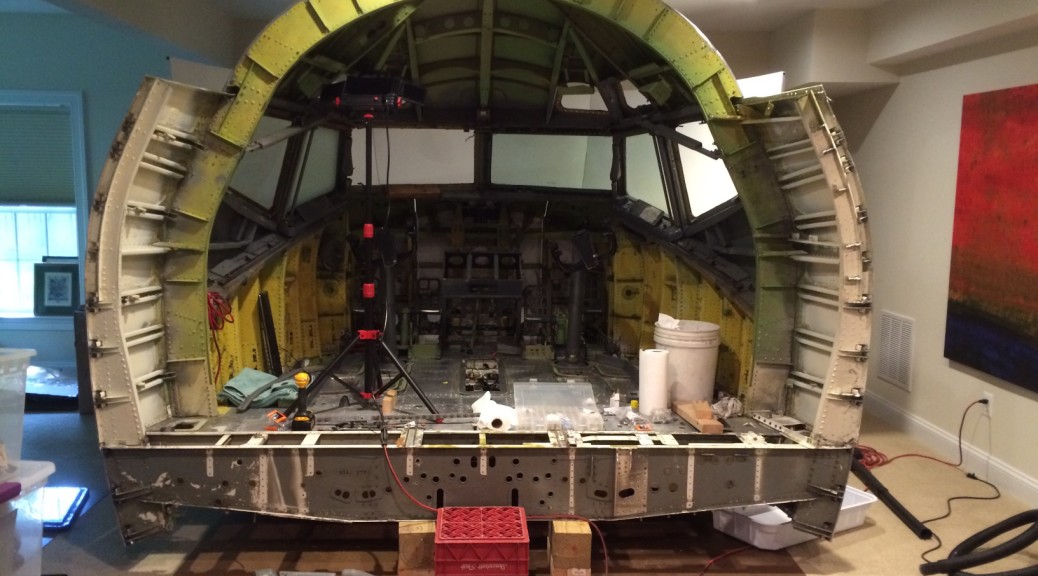

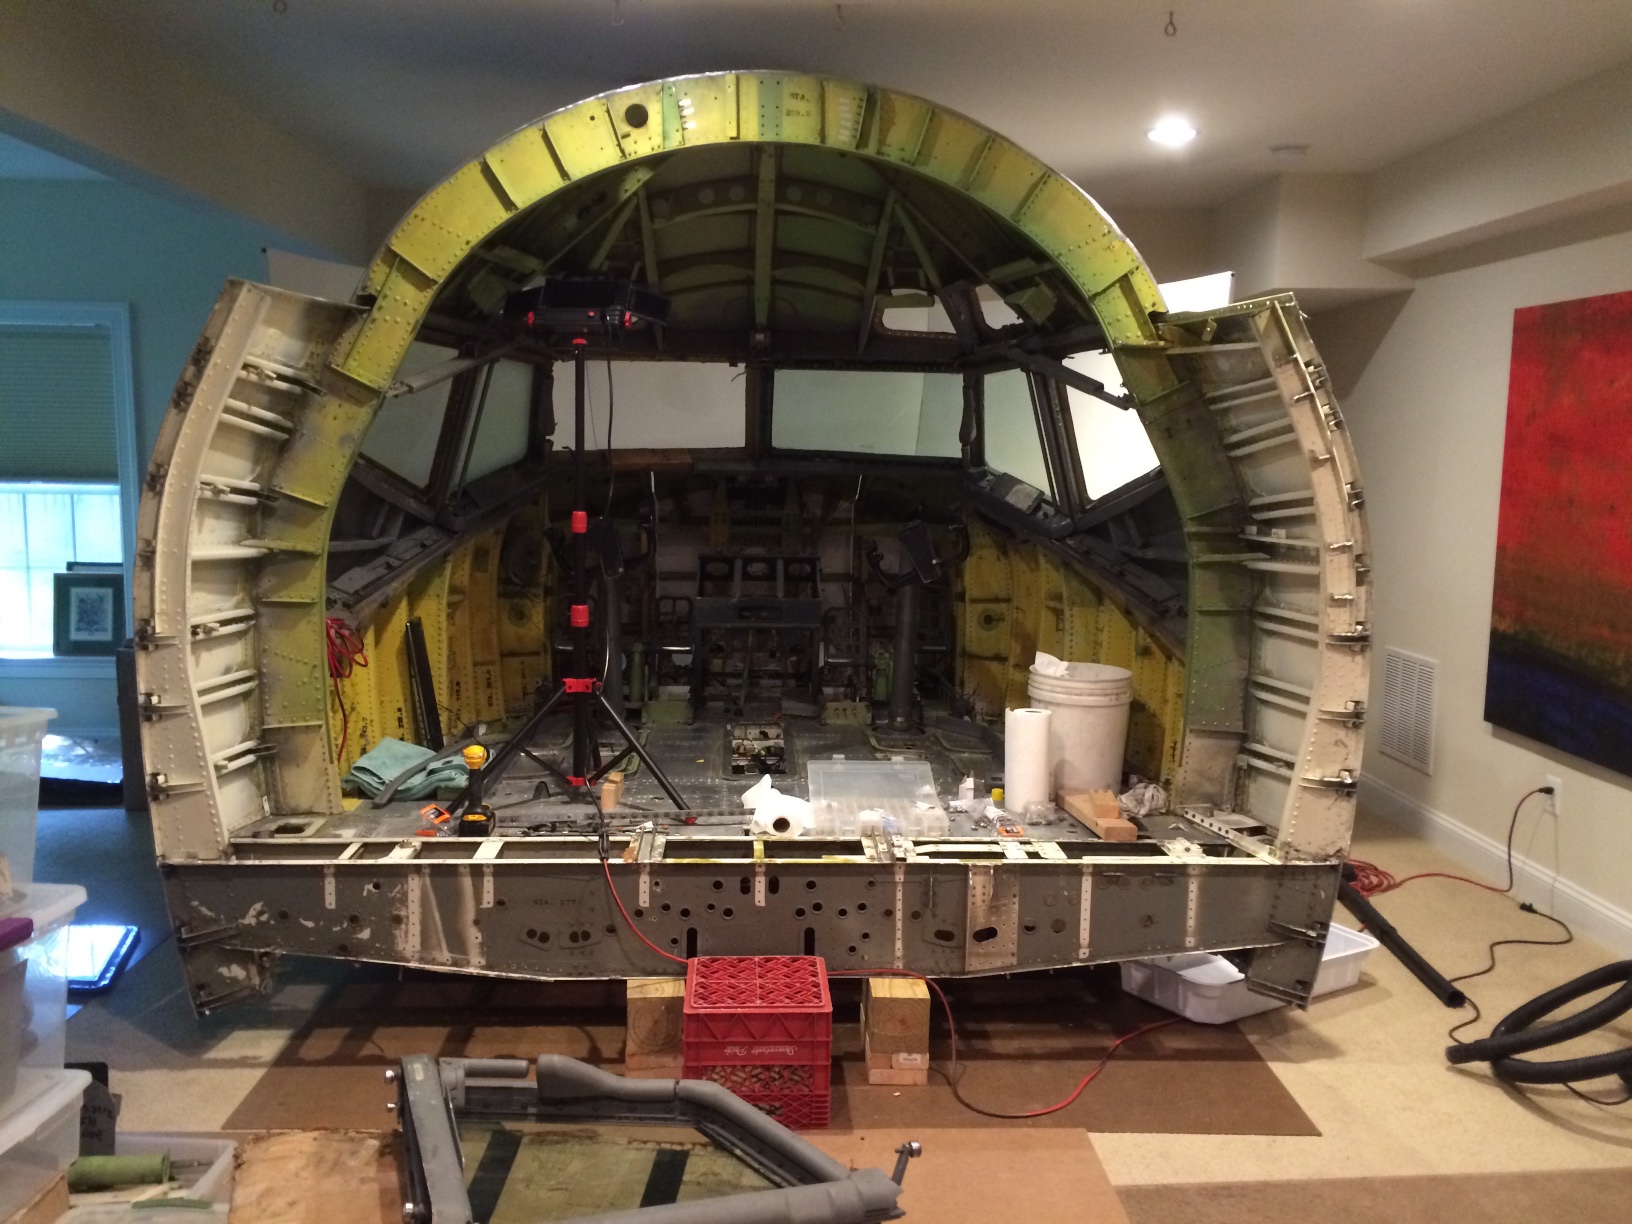
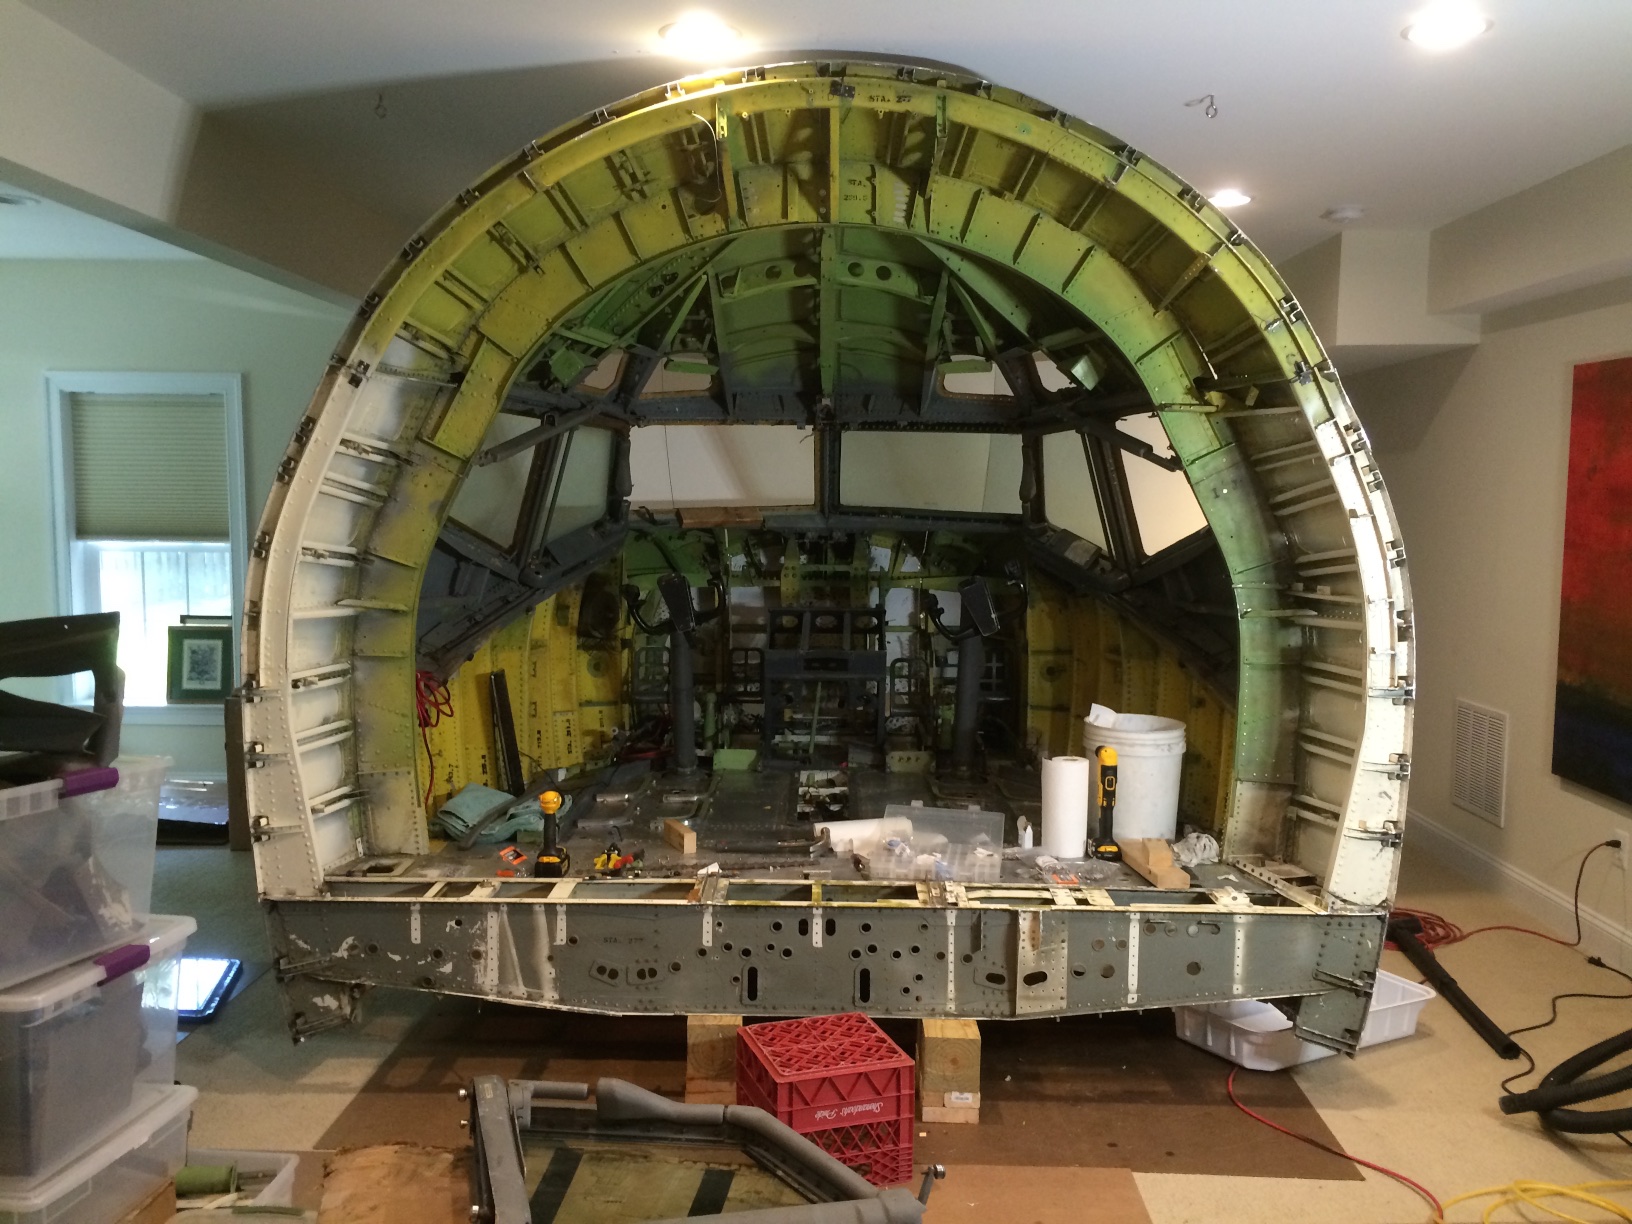
Having finished setting up the forward structure, I decided to scale back my project slightly. As I had the galley and the lav, I had planned to use the full length of the remaining floor to extend out the back. When I saw how much space the forward section occupied, I decided to stop the sim at station 277, which is about 8 inches behind the cockpit door frame. This will leave space for a combination of shelves and remote displays mounted aft of the circuit breaker modules on either side of the door. I plan to leave some of the Boeing structure exposed so that visitors can appreciate the engineering.

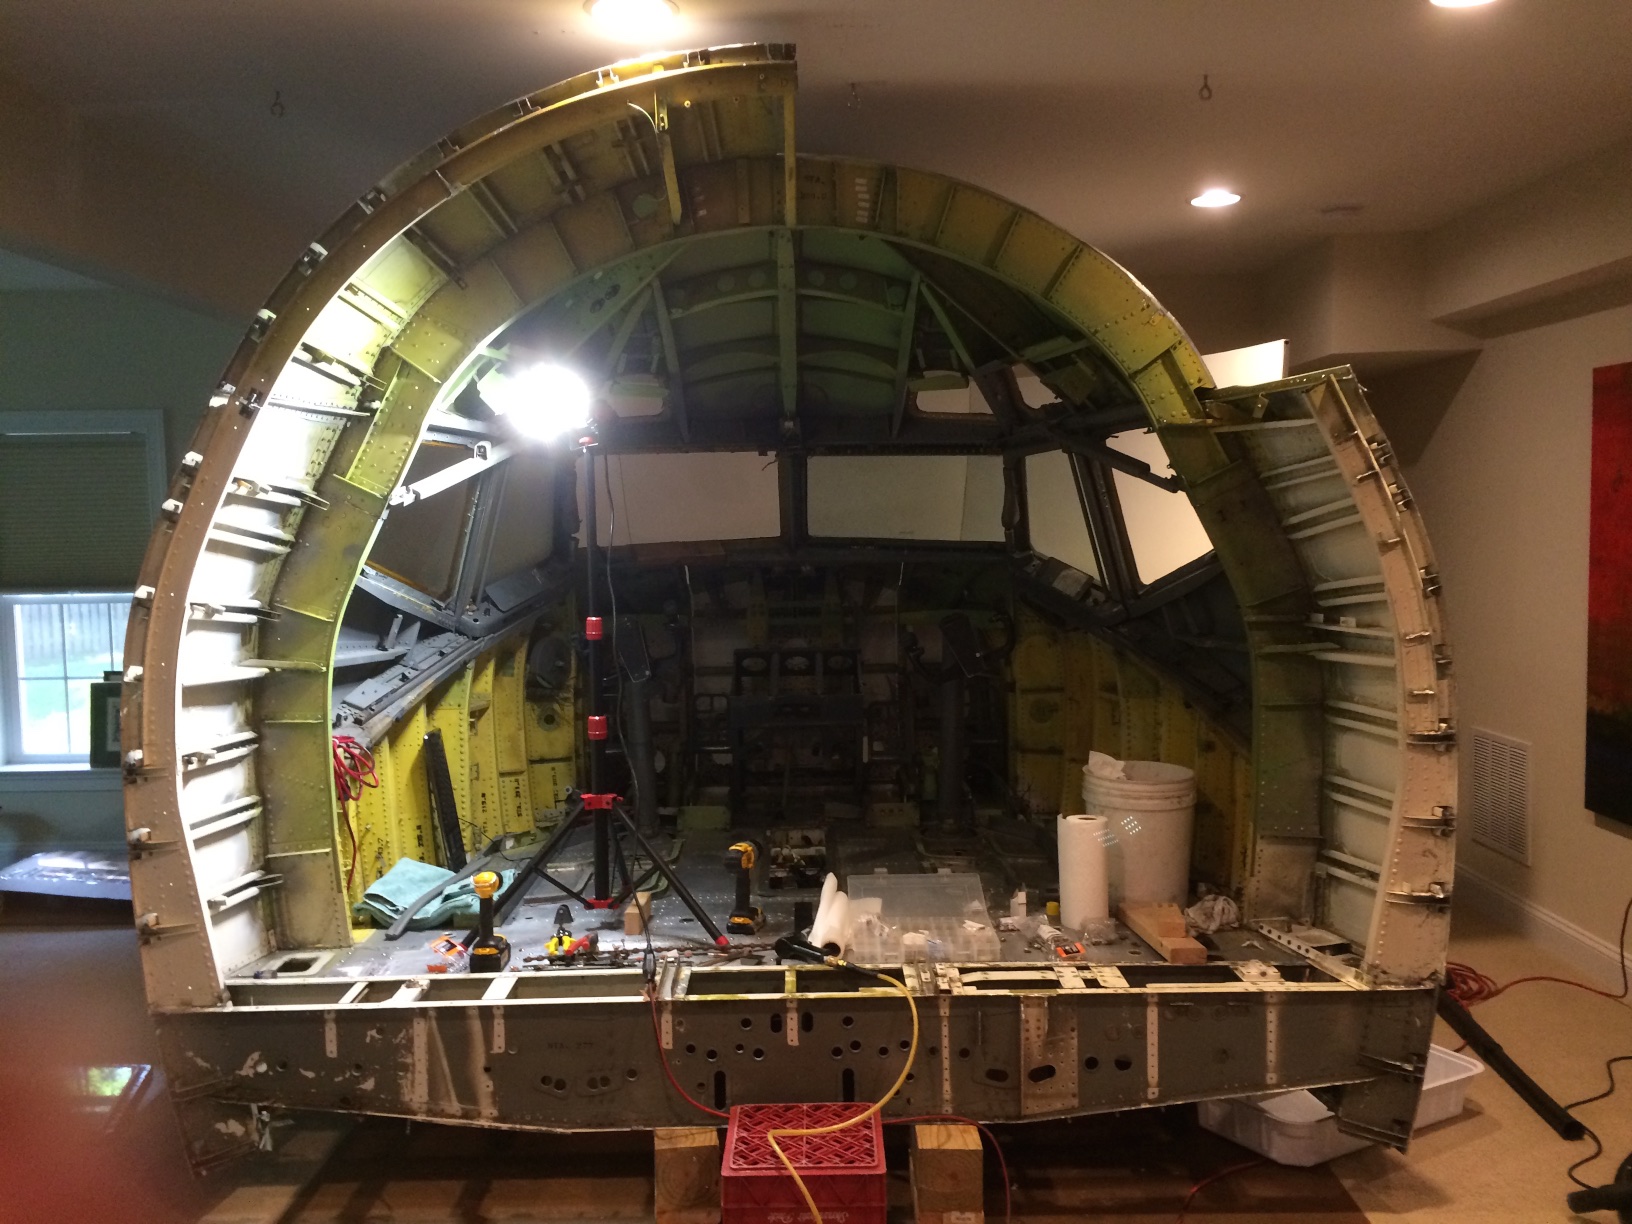
Station 277 turned out to be about 18 inches aft of the section I had set up, so I spent a few days cutting the aft section pieces down to this uniform length. I reassembled the previously divided floor with screws and nuts, then built up the ceiling in four sections. The reassembled structure came within about 2 inches of my basement ceiling, so it was definitely a good place to stop.
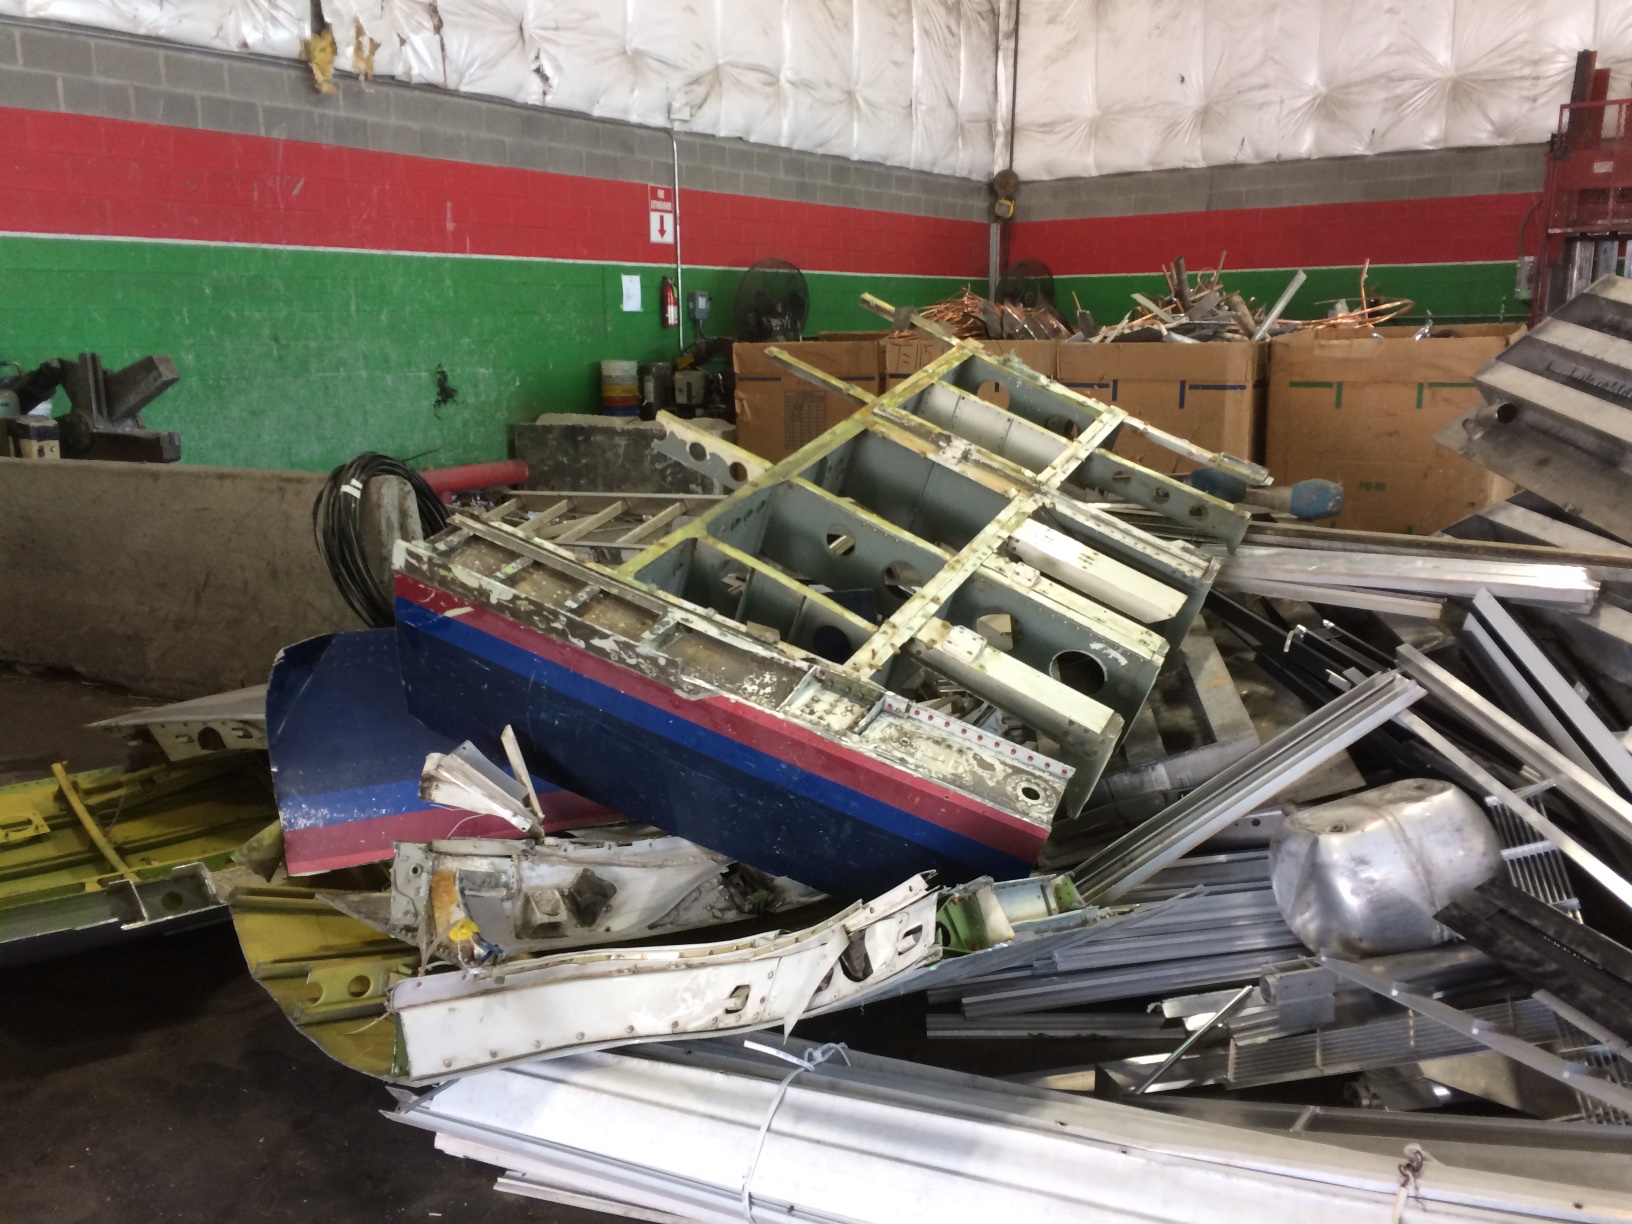
I had a lot of leftover aluminum structure that was aft of station 277, so cut it into small enough pieces to fit in the bed of my pickup, and drove off to the scrap metal dealer, who gave me 40 cents per pound. I’ve decided to sell the galley and lav on eBay. It will be interesting to see if there’s some other person crazy enough to want these things.
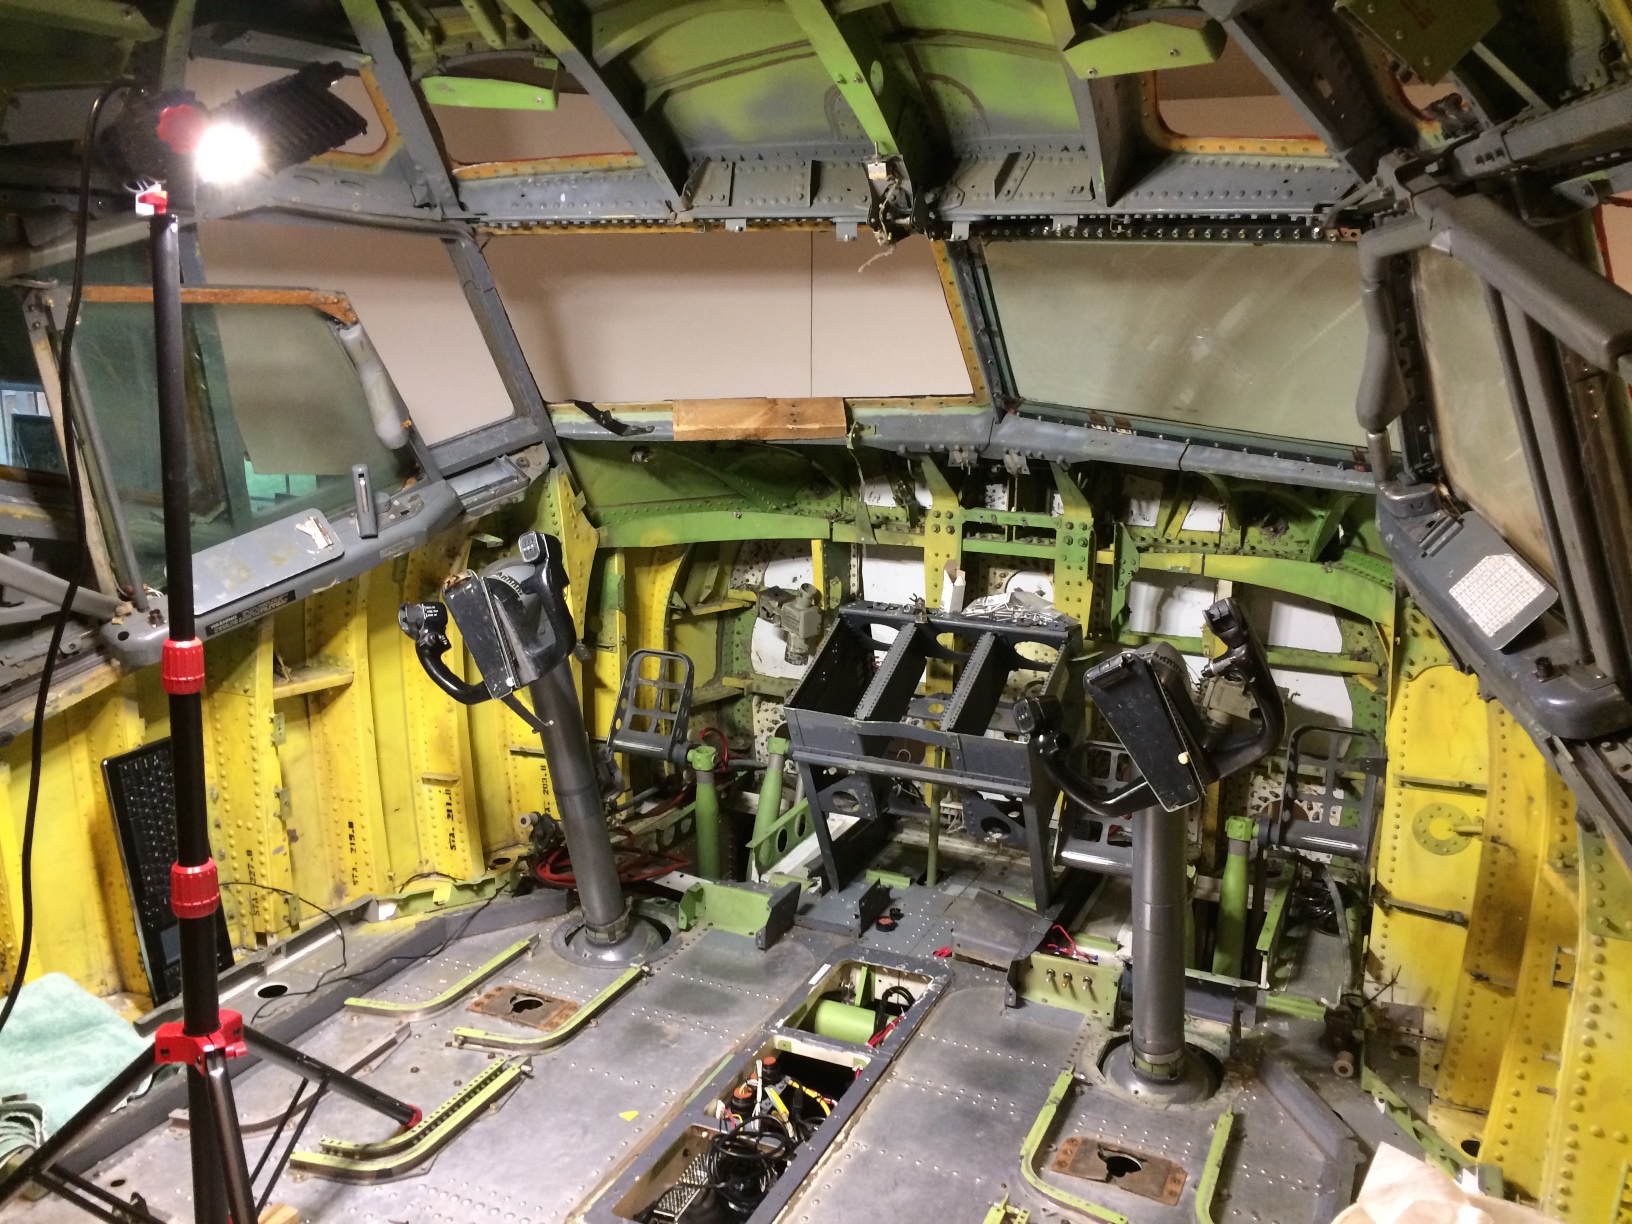
The next phase of the reassembly involves shoring up all the structural connections in the cockpit shell. In total there are eleven major sections, and I took advantage of existing rivet holes whenever possible to allow for precise realignment. For the connections between the sides and flight deck, I used steel mending plates of various sizes found with the hinges at Home Depot. The resulting assembly is very solid, with virtually no movement between pieces.
The real test of the fit will come when I mount the circuit breaker walls and the cockpit door, but that point will probably not come for several months yet as I have to mount a lot of avionics before I close up the back. Next up: fitting the main instrument panel and mating the bottom of the Boeing FMC bay to the top of the FDS one.